Printing Help
Each In Complete Stitches pattern comes with three PDF pattern files:
A tiled “print at home” A4/Letter file
An A0/copyshop file for copy shop printing
A layered Projector PDF file for those who are paper free!
———
Advice on printing at home:
Firstly, check the printing guidance section in the pattern tutorial. Depending on the pattern the pages maybe set out in landscape or portrait orientation.

An example of the printing guidance section in each pattern tutorial. It firstly gives some general printing guidance. It also shows you the groups into which the print at home pages are stuck together. Additionally it tells you, if relevant, which pages to print for which options/sizes.
Secondly, please check that you are using the correct pattern file. The A0/Copyshop or Projector file will not print correctly from your home A4/Letter printer. Check that you are using the A4/Letter file.
When printing please use Adobe Reader (it’s a free program available to download here) to print your file. Open the file from your saved location on your computer using Adobe Reader - opening the file in your browser might open and print the file incorrectly!
The printable area of the tiled “print at home” pages has been set up to work for both A4 and Letter paper sizes. Print without scaling, at 100%, and check the test print square on the first pattern page before continuing to print all pages.
If your printer gives the option tick the box that says “autorotate and centre”, or similar. Alternatively select the correct orientation. Experience has shown that this can help with troubleshooting!
———
Advice on sticking your sheets together!
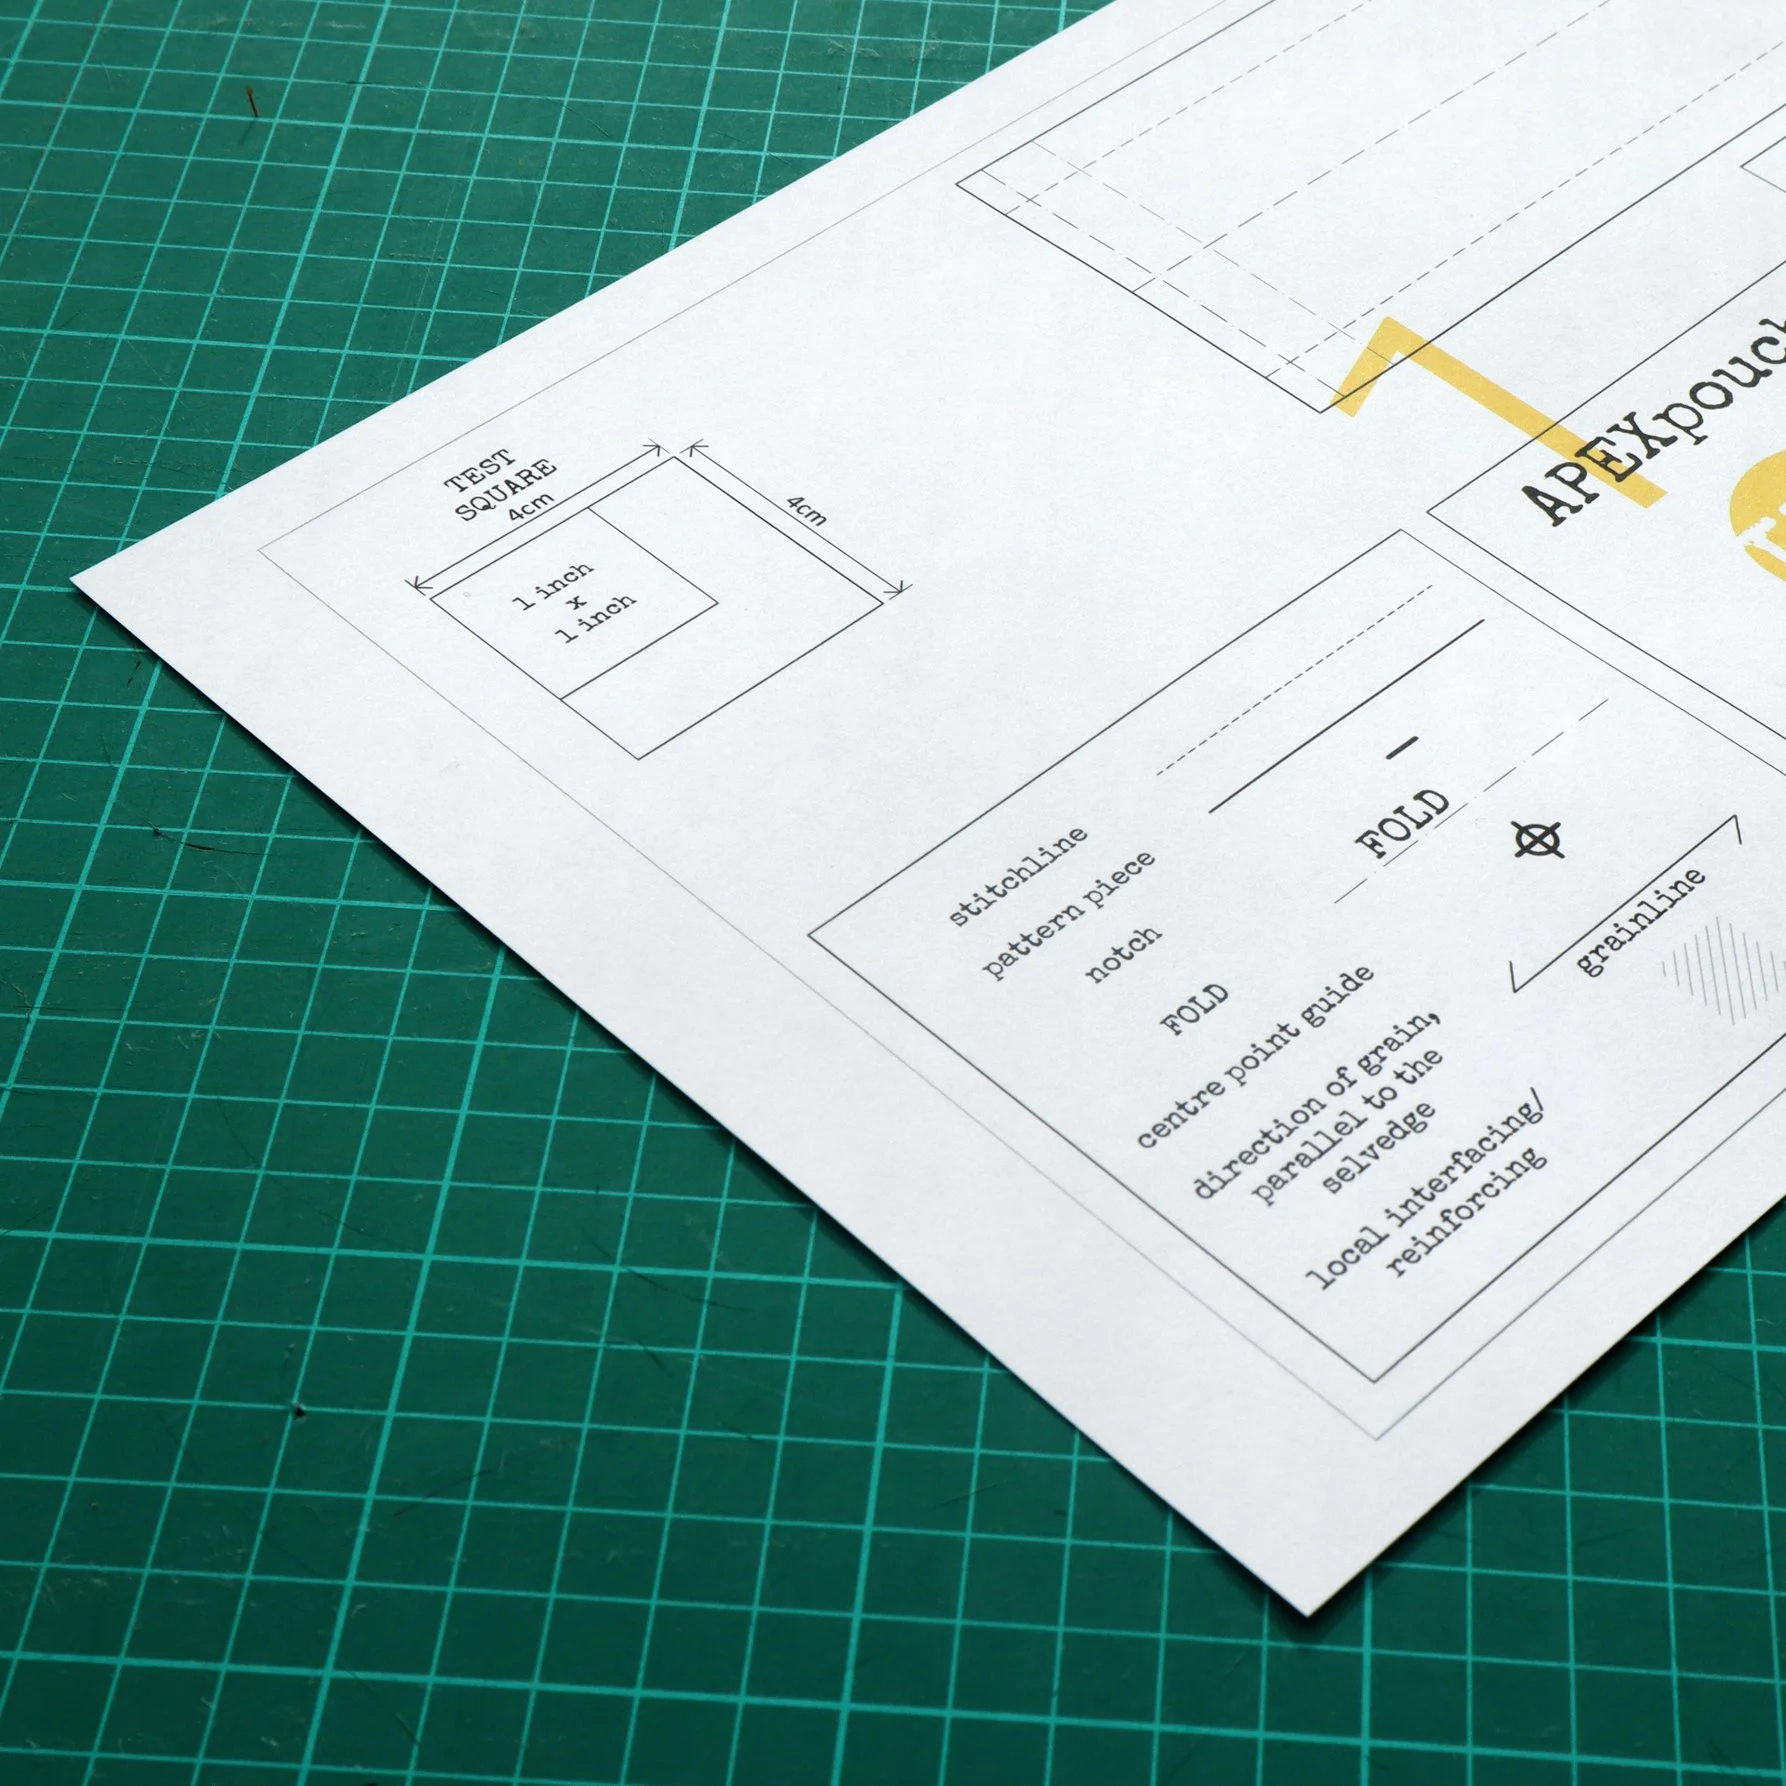
Always make sure to print Page 1 and check the size of the Test Square before proceeding with printing the rest of the pattern pages.

You will need a craft scissors and either a glue stick or some selotape. Glue stick is more forgiving as you and finely adjust the positioning of the pages better. Over time though reinforcing the junctions with some sticky tape might help prolong the life of your pattern pieces.

Take note of the set of pages that need to be stuck together as a group, along with their orientation (landscape or portrait) and arrangement (7 beside 8/above 9 etc…)
This is shown on the Printing Guidance page of the pattern tutorial.

You will be using the black border lines, the lines of the pattern pieces and the SPLIT CIRCLES as guidance in lining up the pages correctly.

You will need to trim off on side and either the top of bottom of each page where they need to overlap to join.
Be consistent...
I suggest you trim off the right hand side and bottom of each page (but to avoid wasting time make sure you don’t end up trimming off the sides without a neighbouring page.

Start by sticking the pages together in horizontal strips

Apply the glue to the white margin left of the border and then place the neighbouring page over this, lining up the printed borders and creating a circle from the two neighbouring semi-circles.

When you have the horizontal strips prepared then stick them together, applying glue to the top white margin above the printed border. Again, use the semi-circles, printed borders and pattern pieces as guidance.

You now have a group of pages stuck together and can proceed to either trace off your pattern pieces or cut them out directly.
Still need some more help?
Please always feel free to send me an email at info@incompletestitches.com where I am happy to offer any help you may need. Please do bear in mind that I am in Ireland, juggling a busy life and this one woman business. I always do my very best to respond quickly and hugely appreciate your understanding of the need to keep a balance of work hours.
You may also like to join and ask your question the In Complete Stitches Sew & Share Facebook group where a friendly, international community of bag sewing enthusiasts is there to support you!